
June 24, 2026
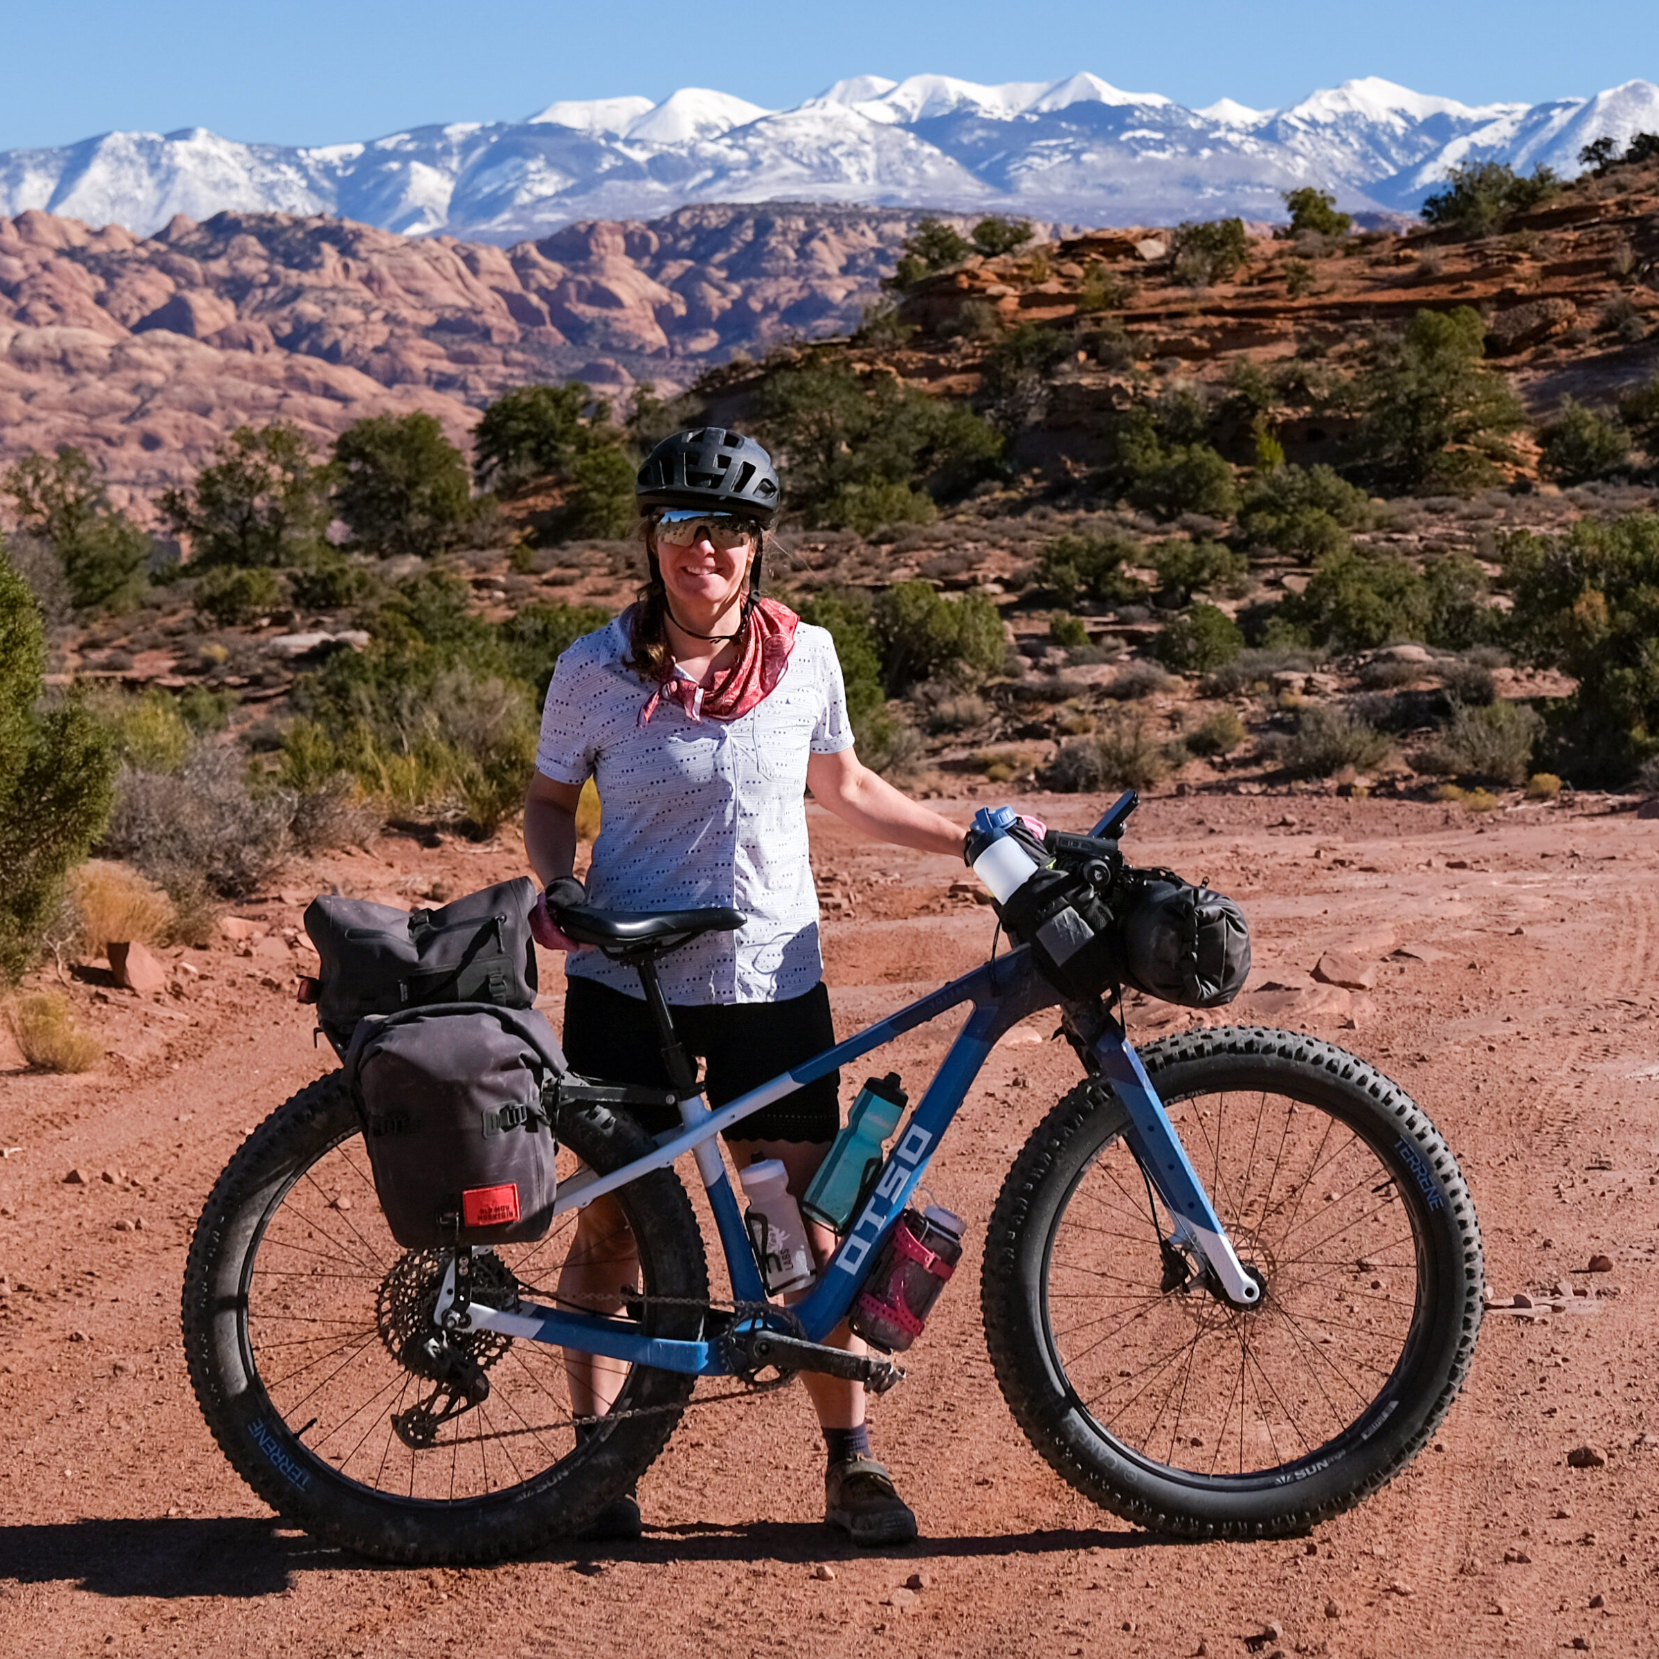
Words and Photos by Samantha Lewandowski
Water. It’s the lifeblood of the wilderness and the single element that allows life to thrive on Earth.
As humans we’re so adapted to finding water that an NIH study found evidence that just listening to the sound of running water greatly reduces the stress hormone cortisol in our bodies. But when you’re adventuring, especially bikepacking in water scarce environments like the desert or high in the mountains, water availability can quickly become a major stressor. In a low snow year like this one in the American west, lack of water planning can be deadly.
Samantha Lewandowski
Guest Contributor

Coal Wash in the San Rafael Swell, very dry even after a relatively rainy fall.
Water for wildlife
Before getting into the hows and wheres of water while bikepacking, I want to start with a piece of advice I received from a park ranger at Canyonlands National Park many years ago. I was planning a three night backpacking trip into a remote region of the park and had reached out for information about the availability and reliability of some springs marked on my map. The park ranger responded, “It has been another below-average snow year. While there is some water in the springs and pools you mentioned, any water you take means less water for the plants and animals (black bears, mountain lions, deer, jackrabbits, etc. in this region) that rely on those water sources to survive. Please take only what you need.”

Big Horn sheep crossing the road in the San Rafael Swell.
Take only what you need. Interpreted one way, this phrase means carrying the water you need for your trip. Assuming an average water consumption of 5L per day, water for a 3 day bikepacking trip can easily surpass 30 pounds (15kg). As a smaller rider who has done this before, it’s tough but possible and, more importantly, essential. Soft flasks and dromedary bags are your friends when you need to carry large quantities of water since they’re lightweight and can be compressed down to almost nothing once you use the water.

Every part of your bike and bikepacking gear is a potential water storage location.
Creative carry
But where to put it all? This is where racks, feed bags, and frame bags help out. With a small bike, I have to get creative about water storage on my bike. To carry 3 days worth of water (~15L) and other bikepacking gear, I use an axle-mounted Divide Rack. I put 6L in a lightweight dromedary bag in my Juniper rack pack and still have room to squeeze in camp shoes and some snacks. Then I like to put 2-3L soft flasks into Hemlock Bags attached to FLiP Cages on my fork and then cinch the Hemlock Bags down after I drink the water. It helps distribute the weight on my bike to improve handling and makes stored water easy to access on the trail or at camp. For water storage outside of rack packs or bags, I put 1 – 1.5L in a Nalgene on my downtube (amount depends on the bike and wheel clearance), 1L Nalgene in each feedbag attached to my handlebars, and 1.5 – 2L in water bottles or Nalgenes in bottle cages within my frame. I don’t personally use a frame bag, but if you have a larger frame you can easily fit a 6L dromedary bag into a frame bag. Pro tip: add a voile strap around the middle of the frame bag to prevent it from bulging into your legs when you pedal.

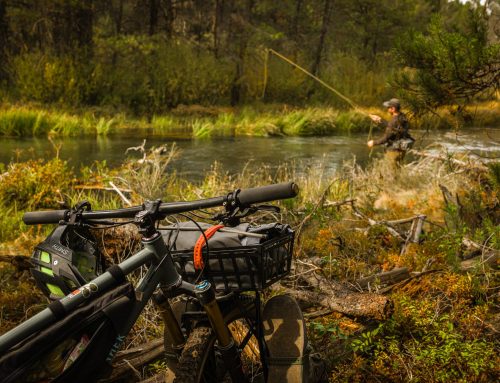
Even in the high alpine of the Colorado Trail, water sources can be hard to find. We carried all our water for this overnight trip.
Cache or cash
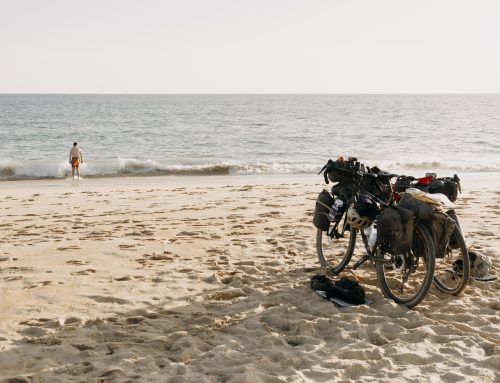
Take only what you need. Interpreted another way, this phrase means only taking as much water as you need from streams, rivers, lakes, cow troughs, potholes, or wherever you can find water in the wild. Sometimes you need to rely on water you find along a trip. For any bikepacking trip longer than about 2.5 days or one that’s in especially warm weather, I can’t carry enough water to keep myself adequately hydrated. For you, that threshold might be vastly different. If your route passes through towns or there are points where you can cache water ahead of time, then you can refill as much as you need. I recommend that you always bring a little cash with you. It goes a long way if you offer to pay someone for water instead of assuming you can just take it for free.

After a violent, hour-long storm in Capitol Reef National Park, the roads turned into creeks but they were all dry by the morning.
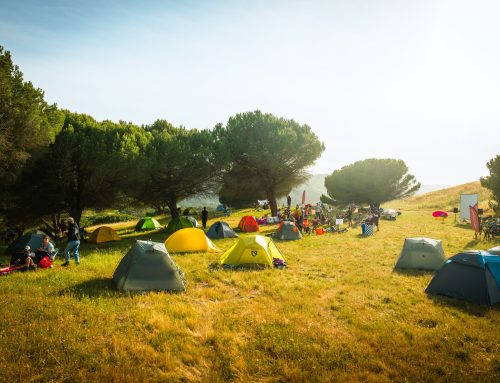
Research before you ride
But what if your route doesn’t pass through towns or you’re unable to cache water along the way? In a water scarce year like this one, pre-trip research can save you from the discomfort and danger of dehydration. Websites and phone apps such as Far Out provide crowd-sourced information about major trails (i.e. the Colorado Trail and the Great Divide Mountain Bike Route). Trail stewards (either from organizations that manage the trail such as the Arizona Trail Association or route stewards from organizations like Bikepacking Roots) and federal, state, or local land managers may not be able to provide insights into specific water sources, but they can provide general information about how dry conditions are on the trails or lands they manage. Finally message boards or comments, such as for routes on Bikepacking.com, provide user-generated information about water, trail conditions, and route difficulty.
If you end up taking more water than you need, you can always put it back in an existing water source (even if it’s a dry stream) or give it to another trail user. Water is your most precious resource while bikepacking, so carry what you can and take only what you need.

Wild horses near Salt Wash in the San Rafael Swell. Even if there is water here, you don’t want to drink it because the salt content is high enough to make you sick.
Samantha Lewandowski
Guest Contributor
Leave A Comment