How Bag Placement and Weight Distribution
Can Make or Break Your Bikepacking Trip.
Managing the Weight
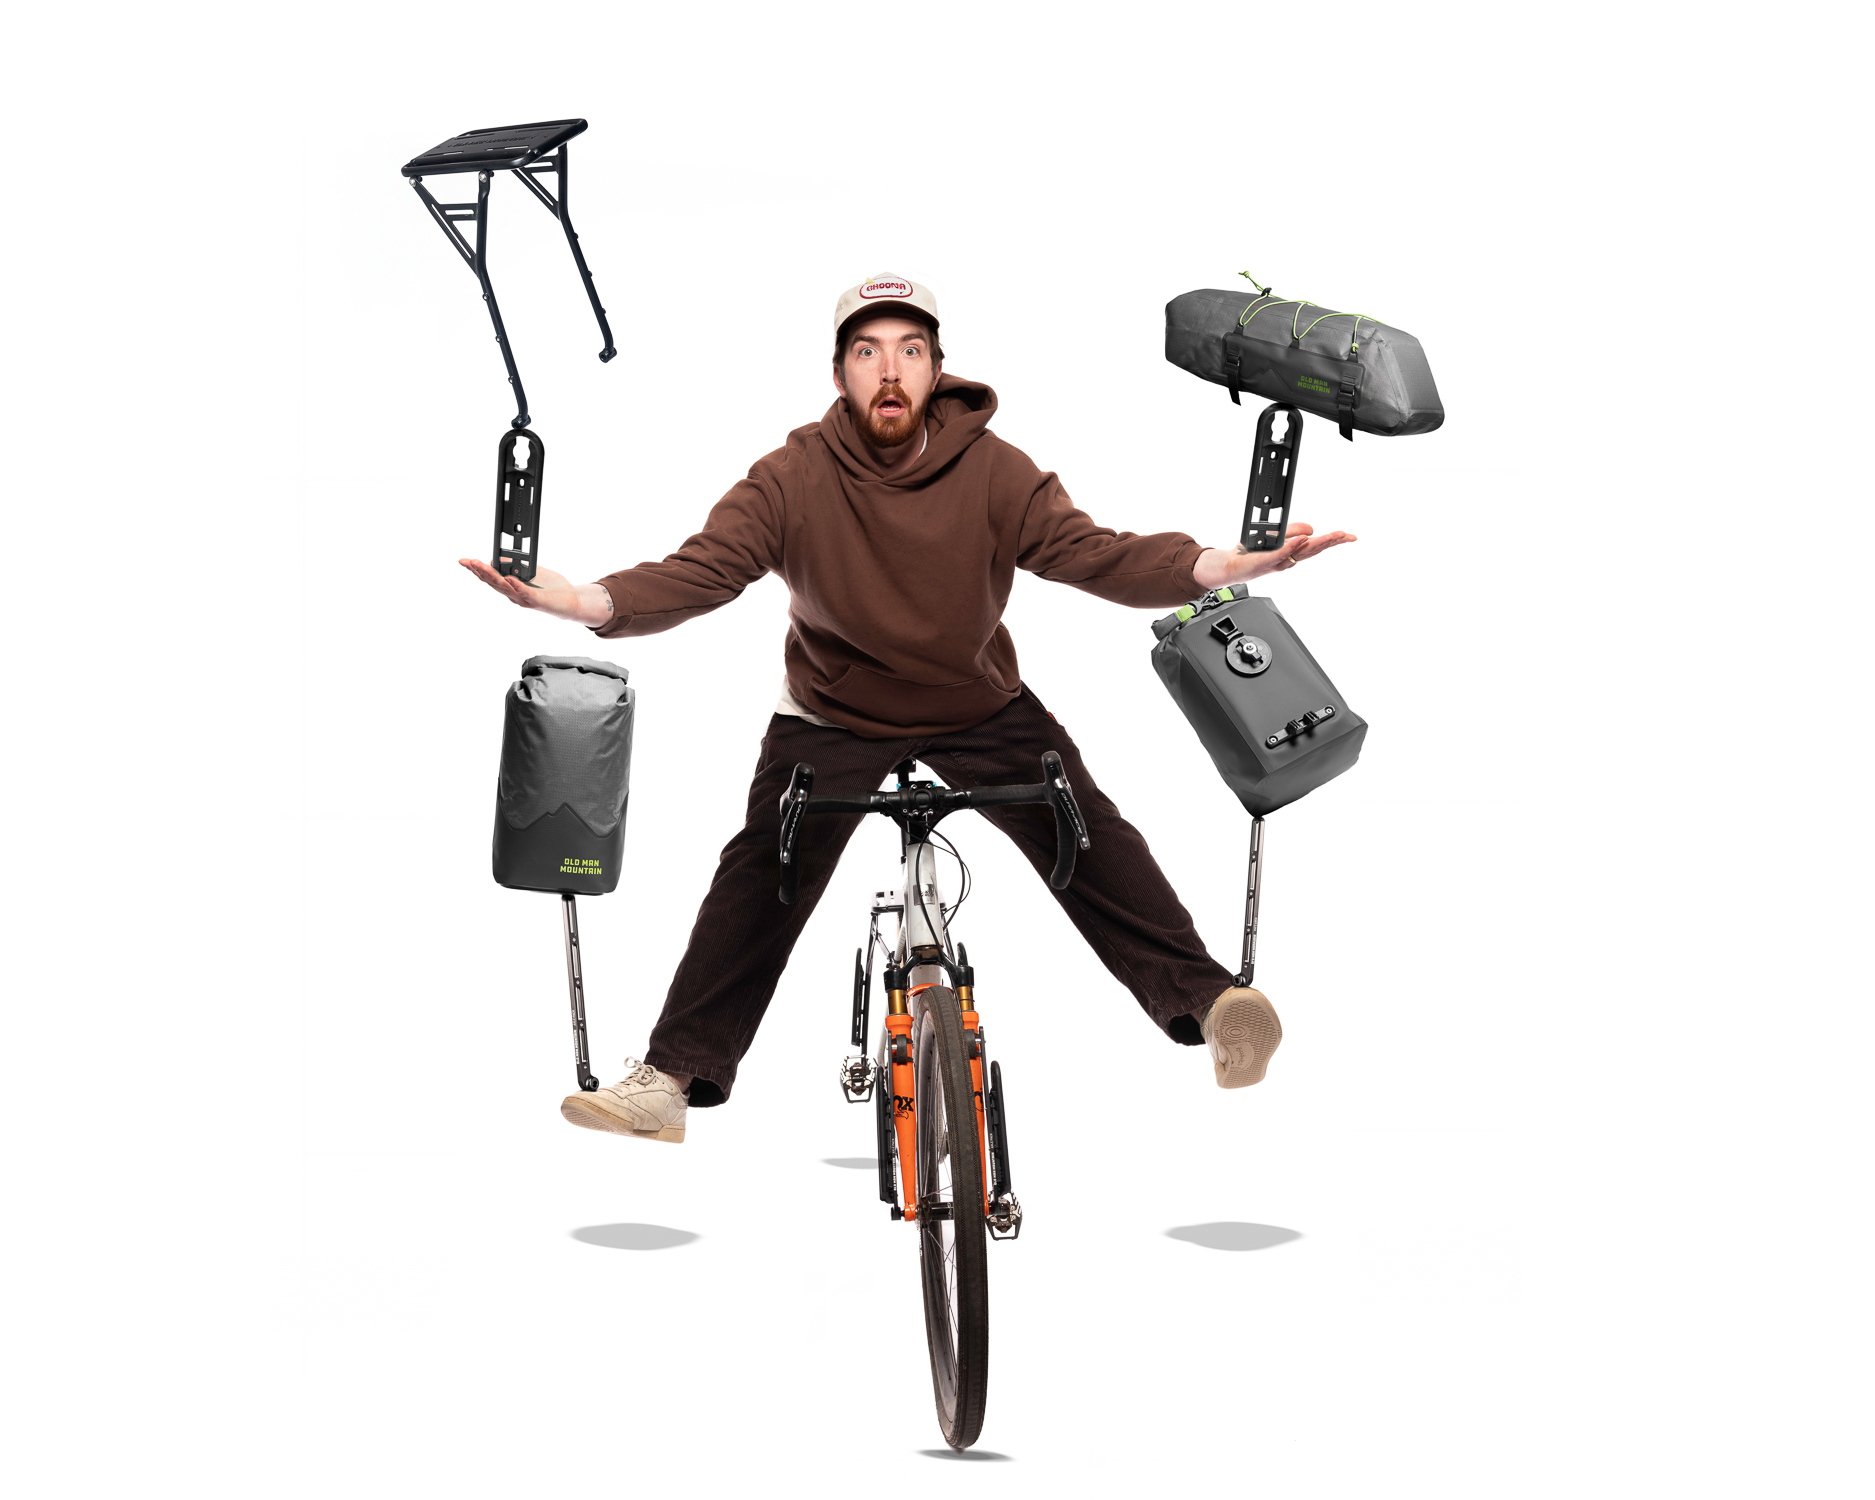
Bike touring has been around since the conception of the bicycle, and what naturally follows is an evolution of the sport. Touring, bikepacking, and shredpacking ultimately share a common trait, and that’s getting people in touch with nature, pushing their limits, and unlocks the world to explore in a totally unique way. Now doing so on all kinds of bikes, and the industry responds by developing a plethora of different solutions. You’ve got options like handlebar harnesses, seatpost bags, frame bags, front and rear racks, panniers, deck bags – the list goes on, and it can be a lot to think about! Picking the right gear-carrying setup is tricky, so how do you choose when there are so many different riding styles, bike types, and terrains to consider?
Whatever you want to call it, the distinctions between bikepacking and bike touring are becoming increasingly hazy, and now we have this new thing called shred-packing. It’s all about riding a bike from one spot to another, bringing the stuff you need to have a good time outdoors. These trips take you off the beaten path and to far-off places, this means bringing everything you need to survive and thrive on your journey. From shelter, food and water, pourover equipment, to tools and first-aid supplies. Strategically mind-bending, deciding how to pack your essentials is just as important for singletrack shredding as it is for throwing down miles on backroads. Which is why I’ve done a deep dive to investigate how these different choices affect your bike’s performance, handling, and overall comfort behind bars.
Comfort and Performance
We’re going to talk about how gear placement affects handling and ride quality, and how your bike responds to the weight distributed to various positions around the bike. Opinions vary among cyclists, but I start with the 60:40 rule. 60 percent of gear should be loaded on the front and 40 percent on the rear. The reason it’s a 60:40 split and not 50:50 is because a rider’s center of gravity (CoG) is positioned over the rear of the bike. So, packing dense, heavy gear (a camera, food, cooking equipment, battery banks, etc.) towards the front will bring the weight on both wheels closer to even.

For reference, I am 6’3″ and weigh just over 205 lbs and my current packing rig is a 2019 Santa Cruz Stigmata, 60cm frame. When paired with a Fox Tapercast fork, it’s an extremely versatile platform to start with and is well-suited to my needs due to its capability on most of the terrain I throw at it. 40mm of travel goes a long way for a big dude like me.
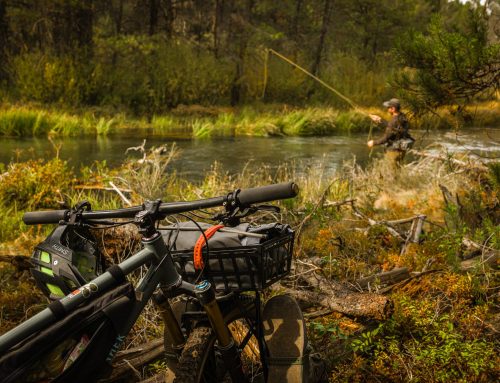
Mounted to the front is an Old Man Mountain Axle Pack and Hemlock bags that are attached to the rack using FLiP Cages. On the rear is an axle mounted Elkhorn rack with the new Atlas deck pack sat atop, as well as Hemlock bags mirroring the front of the bike. This setup allows me to have the 60% of my packed weight tight to the bike, keeping a low profile on the front end. The remaining 40% of my load is managed by the three bags shown over the rear. These rear bags take care of my bulkier items (sleeping bag, pad, and outerlayers) that fill up most of my available volume. I really dig this configuration because it distributes the weight nicely and positions the load lower, under my center of gravity, and weighted onto the axles. Finding a good system that allows the combined CoG of the rider and the packed weight to be coaxed lower and further forward can result in increased traction and control. Balance is key here!
Testing.. Testing..
How-to videos and questions answered in forums will often talk about bike-body separation, which means being able to move your bike independently from your body. It’s usually best to make smaller movements with your body, and bigger movements with your bike. Allowing your bike to do the hard work while you remain stable and comfortable in your riding position. Leaning causes both you and the bike to pivot around the roll axis, which is the imaginary line that connects the points where the tires touch the ground. Setting up your bike with the greatest achievable range of movement helps you balance and quickly adjust to the terrain.
For bikepacking, this only works if you start from a balanced foundation below your bum. If the weight distribution of your load-out is requiring constant negotiation between your arms and the bars it’ll be difficult to react and stay balanced on your bike with much grace. Mounting gear lower, and closer to the axles will result in a more confidence-inspiring ride quality when compared to the commonly employed saddle bag and handlebar harness combination. This is because carrying gear in bags positioned closer to the rider’s center of gravity, will effectively raise the overall CoG. The higher the load, the longer it will take to change your lean angle when you’re starting a turn, or switching from left to right/right to left.

Where you put your weight on your bike makes a big difference in how it handles. A bike with a high center of gravity is harder to lean and change direction, kind of like balancing a broomstick on your hand – the higher the balance point, the more exaggerated your movements need to be to control it. Moving the weight of your gear around adds up and will tire you out faster than if the weight is packed low on the bike where it doesn’t have to move as far. Piling too much stuff on your handlebars will make steering slower. This is especially noticeable on rough trails where you need quicker steering. This is the main issue I have with using handlebar harnesses.

The distance between you and your bike’s combined center of gravity and the roll axis also affects how fast you can change your lean angle, which impacts how quickly you can turn. A larger distance means slower lean angle changes and slower turns, while a smaller distance means faster changes and quicker turns. This is the trade-off between quick and slow handling; a bike with quick handling may be less stable, while a bike with slow handling may be more stable but less agile.
With a lower center of gravity, it takes less work to start and make turns. I can lean the bike with less effort and have smoother transitions, making the ride more fun and fluid. Encouraging the weight lower makes the handlebars feel more like they do without gear, which gives me more confidence and control on rough terrain. The bike is also way more responsive, which lets me hit trails with better control and shred even harder. Optimizing the weight distribution on my bike by lowering the center of gravity has dramatically enhanced my time on the saddle. The improved handling, responsiveness, and overall control have not only boosted my confidence but also allowed me to push through sections of trail I’d otherwise have a hard time navigating.
Notes From The Saddle
Dialing in your bikepacking setup is all about experimenting and adapting. We’re here to inspire adventures and provide the best gear to make every ride enjoyable. By understanding weight distribution, center of gravity, and bike-body separation, you can fine-tune your setup for better handling and a smoother ride. Every rider and trip is different, so tweak your approach and find what works best for you. Pack smart, ride free, and embrace the adventure. Here are a couple of helpful tips to remember when you’re ready for your next adventure:
- Make sure your load is balanced. While it may seem intuitive, it is important to note that an unbalanced load will require constant compensation by way of countersteering. Therefore, it is crucial to ensure that your gear is roughly balanced. A scale is helpful, or the ol’ “which hand feels heavier” trick works.
- Keep it right, Keep it light. It’s tempting to overpack, especially when you have the space. Plan accordingly and lay out your gear before you start packing, you may find you can leave behind a few non-essential items that will lighten your load. Do you really need a full cookset, or that many changes of clothes?We love to take a little fishing gear, a deck of cards, or a camp chair. Just focus on packing what you will use on your trip so you don’t go too heavy.
- Keep dense, heavy items low to the ground. Remember, heavy stuff stays low! This keeps you and your bike’s center of gravity down, making it way easier to stay upright. So, load those panniers with the heavy things first, just like packing a grocery bag; save the lighter stuff for the top of the racks (sleeping bag, outer layers, etc.).
- Don’t be afraid of weighting the front. The 60/40 rule is an easy way to remember it’s not what you pack, it’s how you pack it! If you’re finding it hard to steer, it might be a good time to reevaluate your setup, and what luxury items end up making it with you on the trip. A properly distributed setup will result in smiles for miles!

Leave A Comment